
![]()
OpenCV Installation on MS Wndows 7 / Visual Studio Community 2013
Environment
MS WIndows 7 Professional K (64-bit)
Visual Studio Community 2013
OpenCV 2.4.10
How to Install OpenCV
1. Visit OpenCV official site.
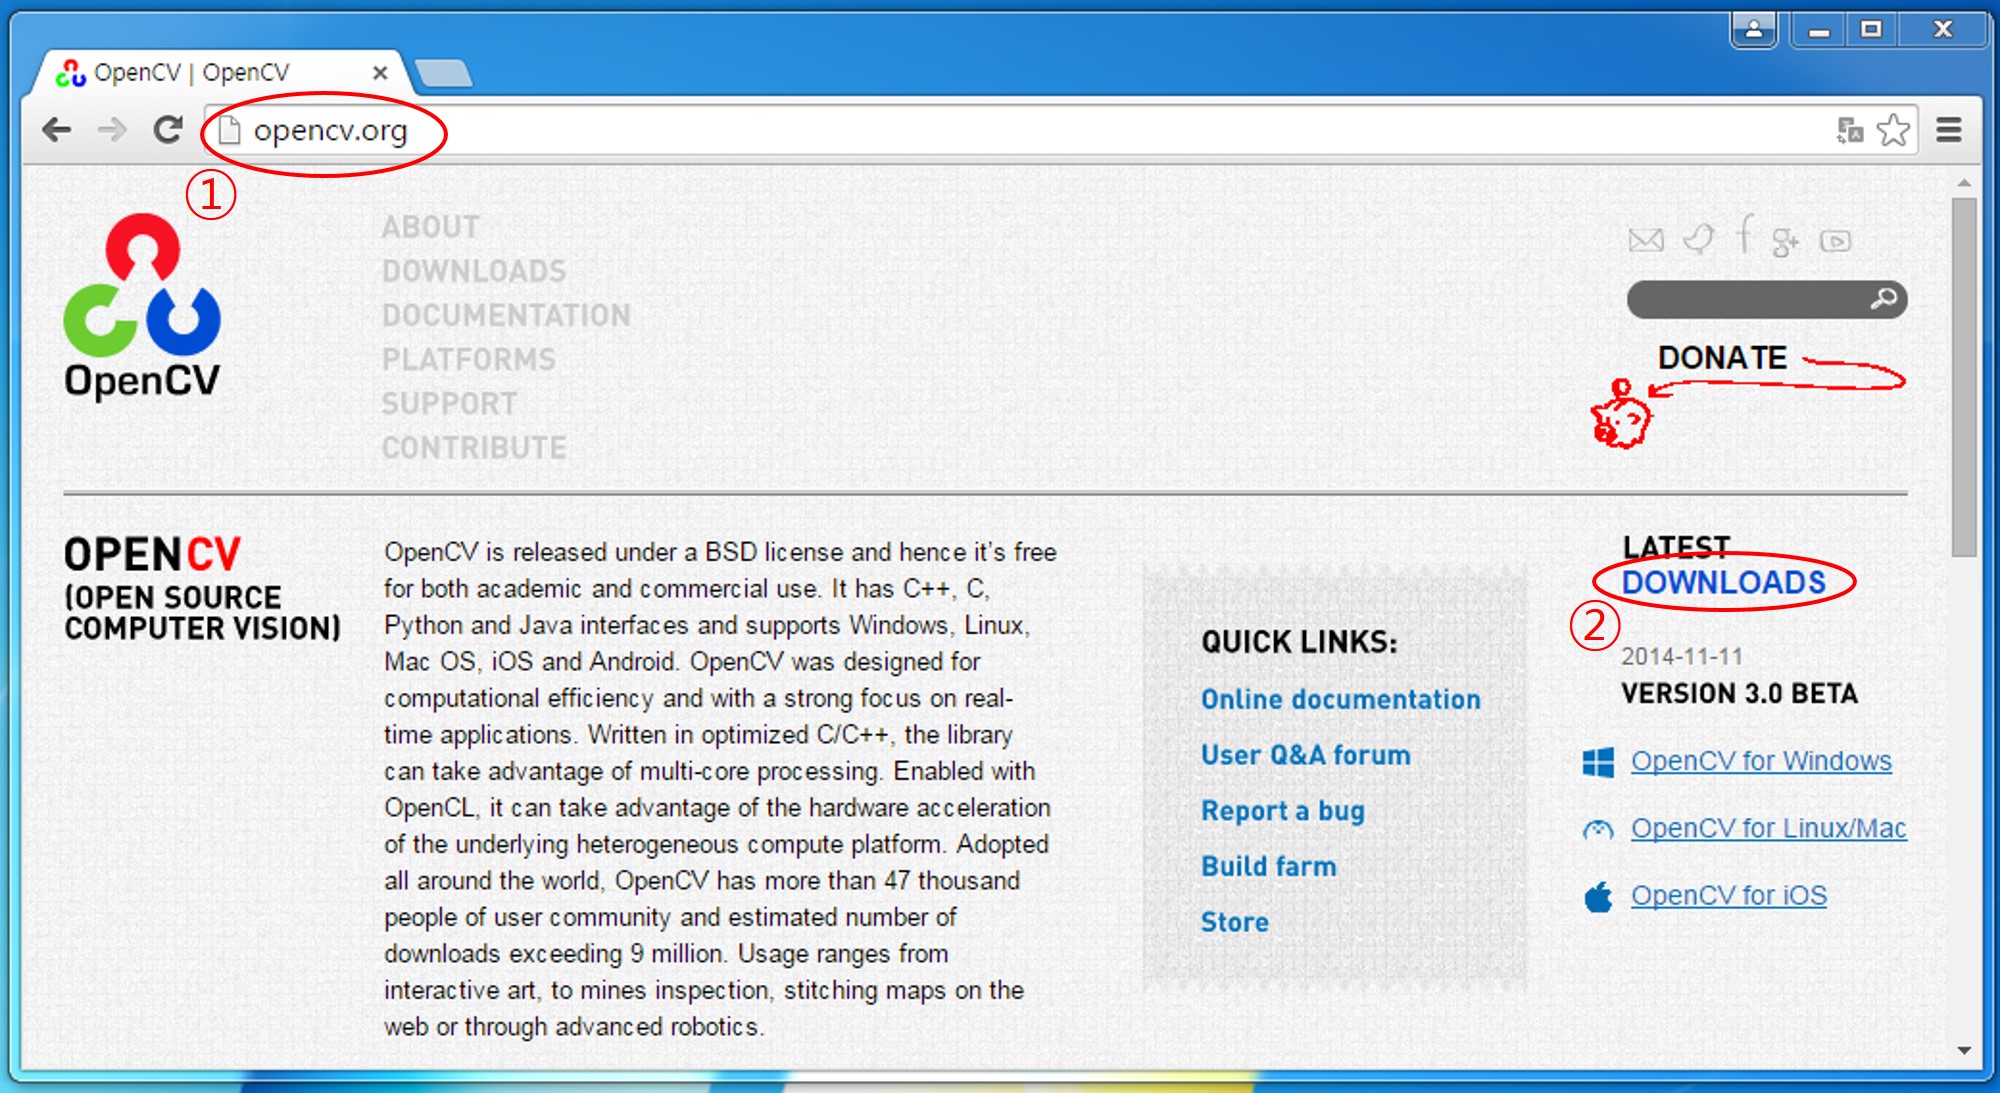
2. Click LATEST DOWNLOADS.
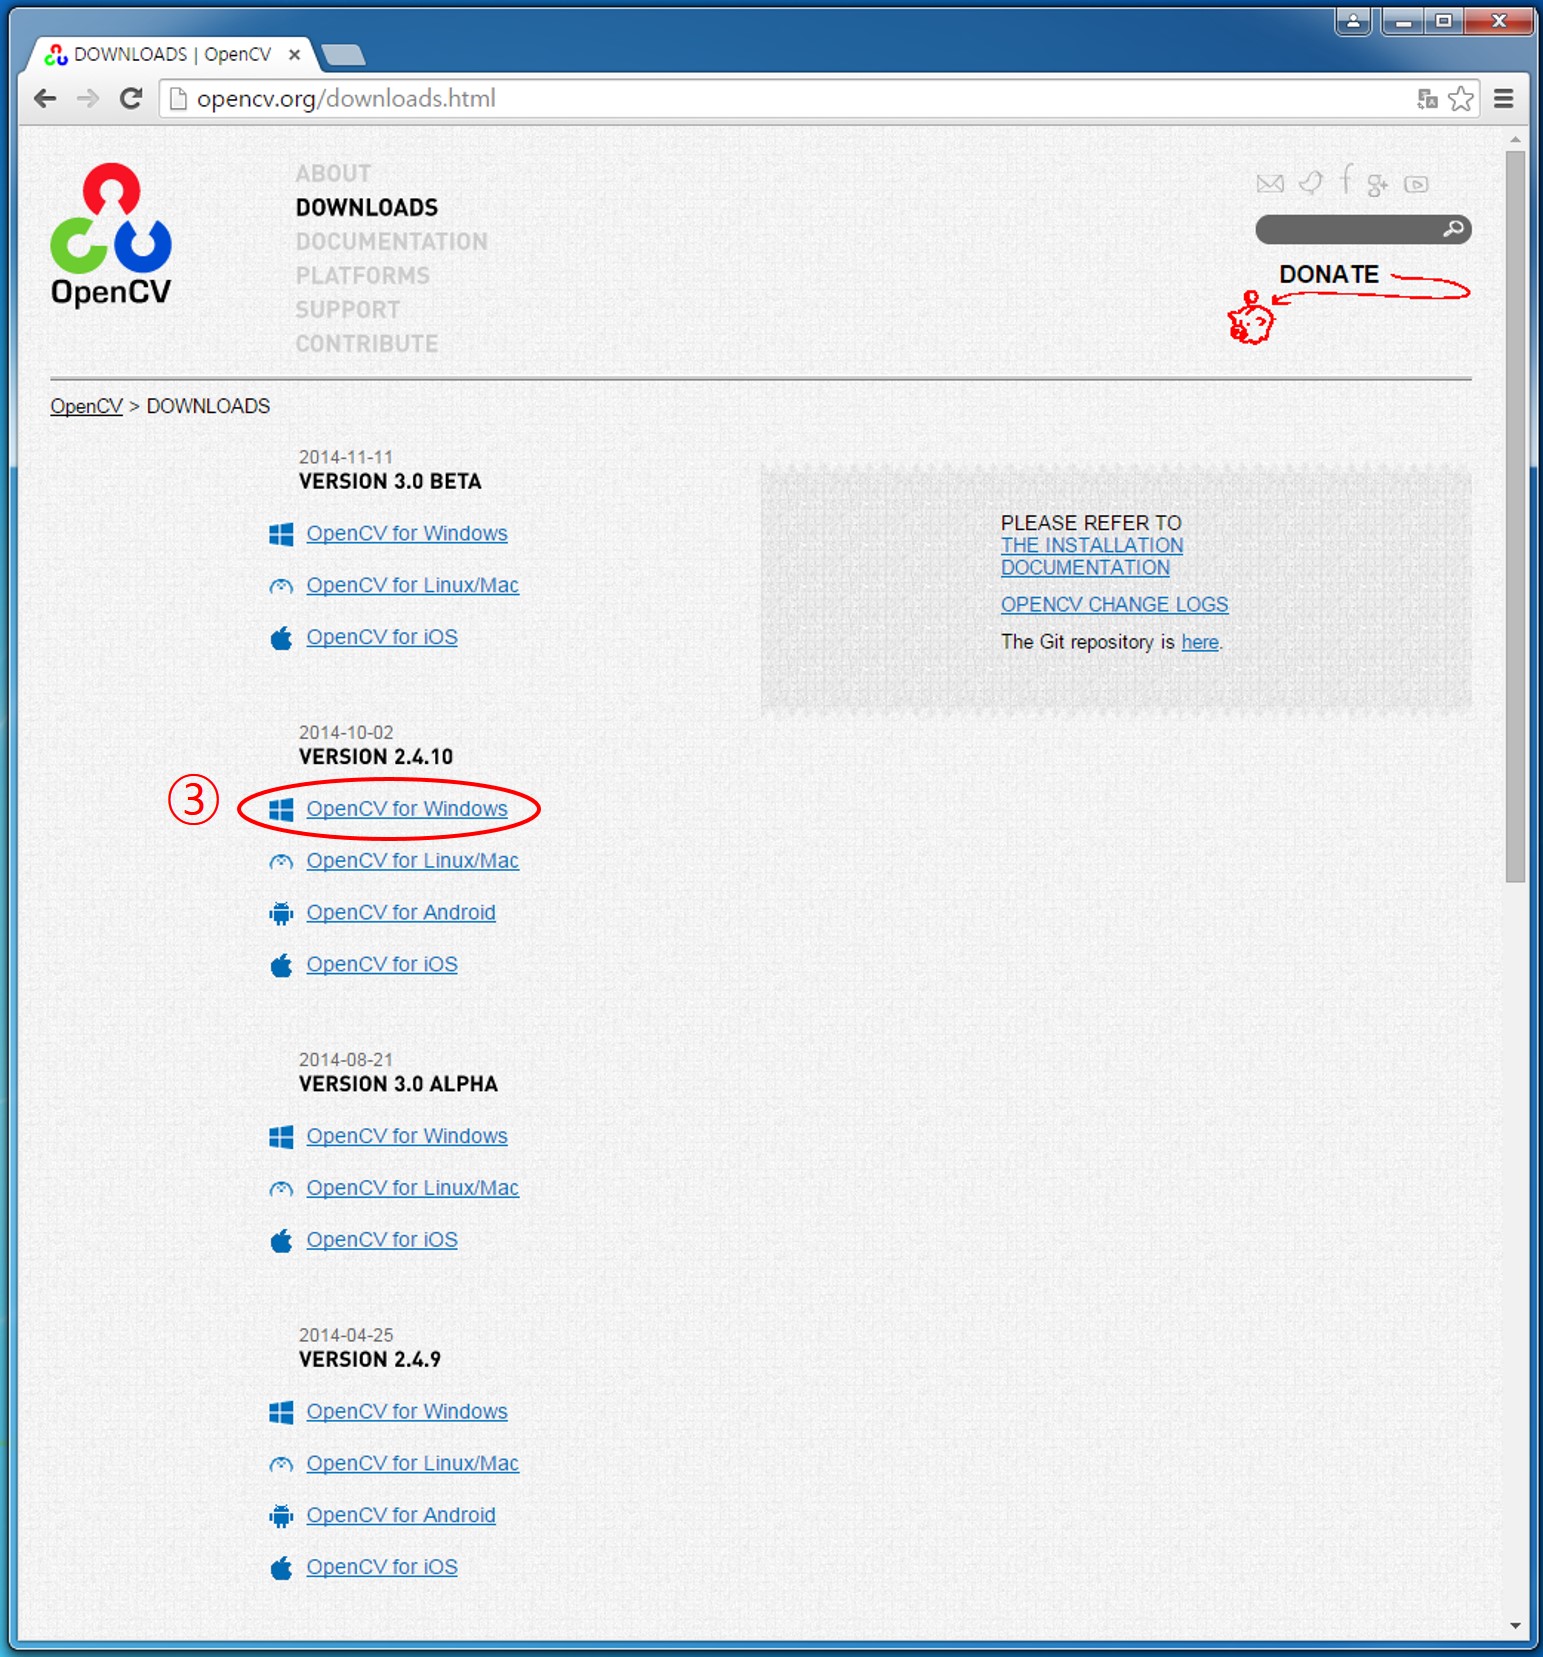
3. Click OpenCV for Windows under Version 2.4.10
4. After download you will get opencv-2.4.10.exe.
![]()
5. Run the downloaded program by double clicking it.
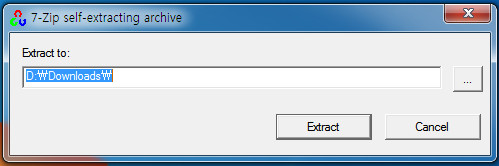
6. (Optional) Change the destination folder where the opencv files will be extracted and installed. In this tutorial, "D:\" was selected as following.
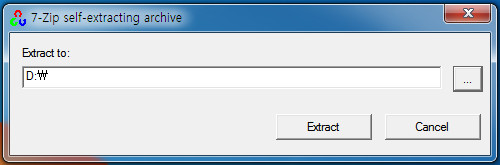
7. OpenCV files will be installed in the "D:\opencv" folder. In this example, however, the folder name was changed from "opencv" to "opencv_2_4_10" for the additional installation of the future version.
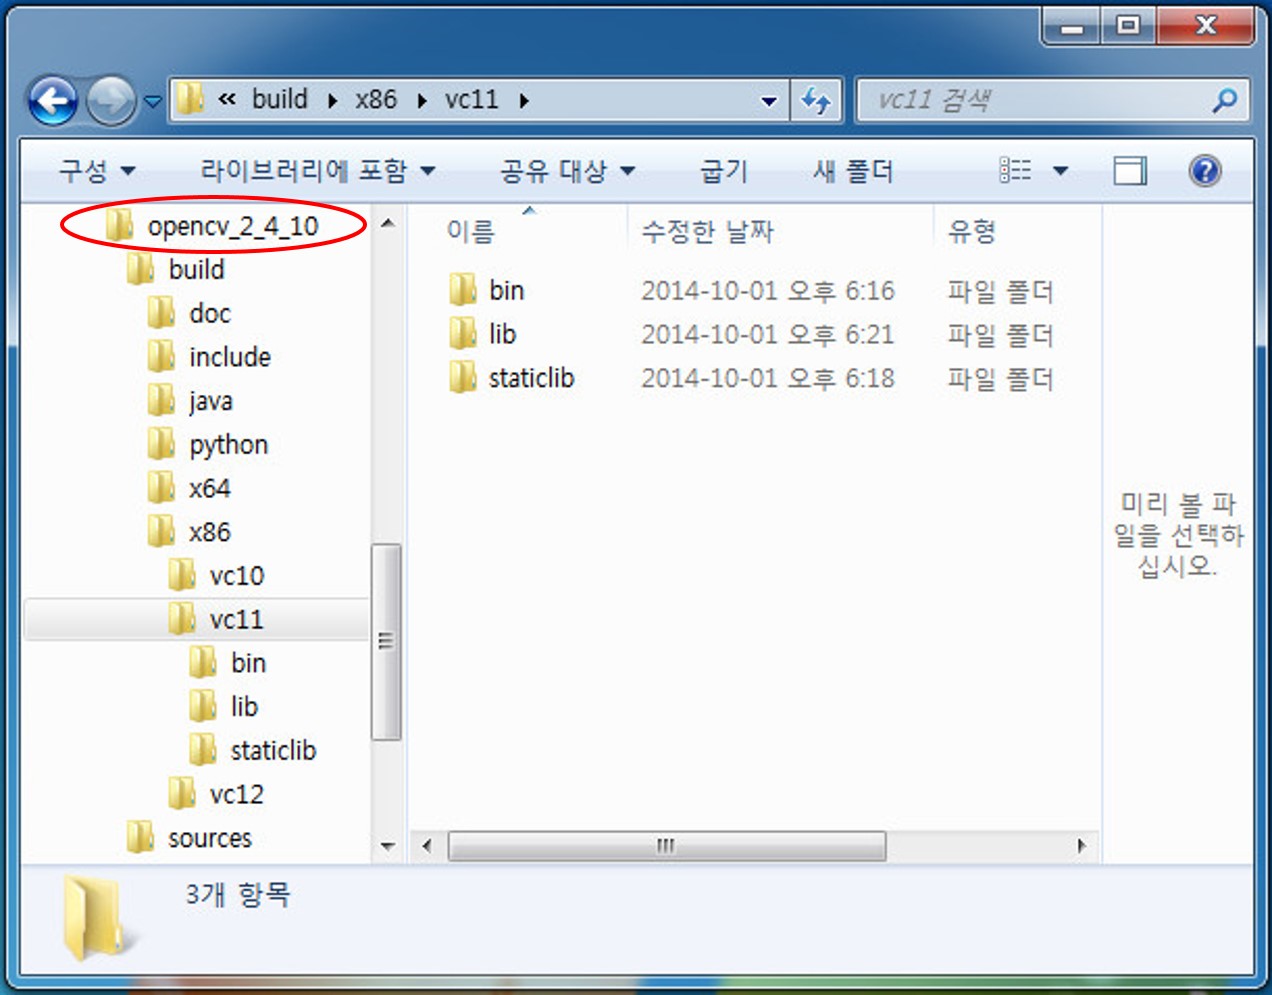
8. Navigate to "D:\opencv_2_4_10\build\x86\vc11\bin" and you can find a lot of DLL files which will be called by the application during its run time.

9. We have to let our computer know where it can find these DLL files during running time. For this purpose, we should add this path to MS Windows sysems's path variable.
Adding OpenCV Path to the MS WIndows System Path Name
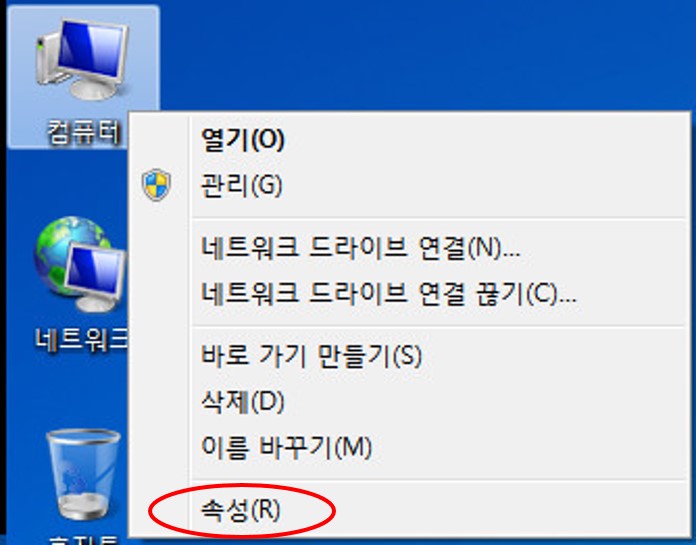
1. Right click on the Computer icon on your desktop and select the "Properties".
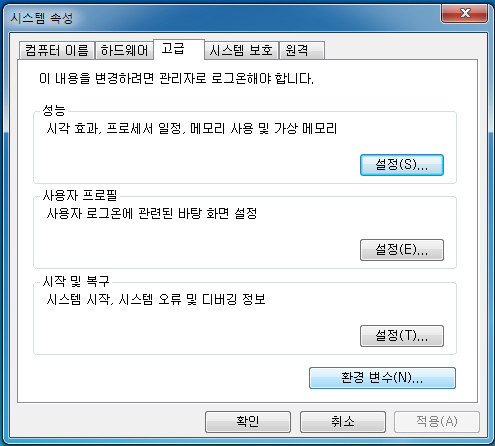
2. Select "Advance System Settings".

3. Click on "Environment Variables".
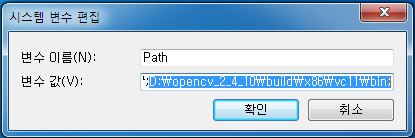
4. Select "Path" item in "System Variables" and click on "Edit" button to append the path name.
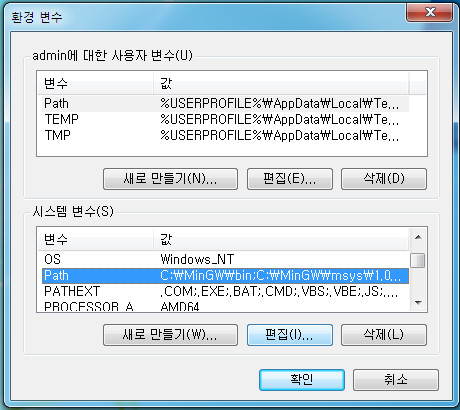
5. Append "D:\opencv_2_4_10\build\x86\vc11\bin" to the end of "Variable Value".
6. Congratulations! You are ready to develop your own OpenCV application using Visual Studio Community 2013.
Make a Simple OpenCV Application
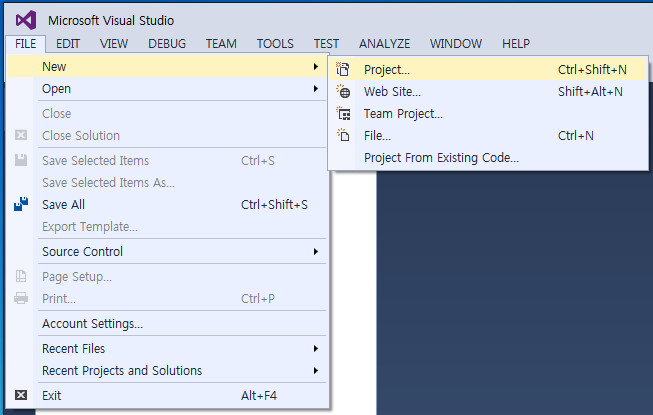
1. Start Microsoft Visual Studio Community 2013. Select "FILE" -> "Project".
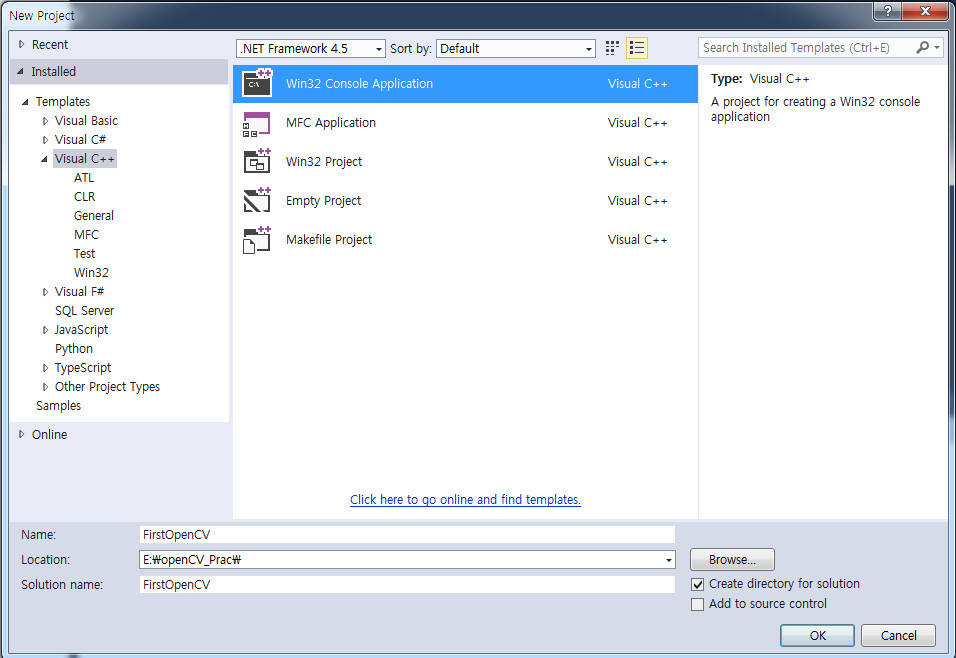
2. Select "Visual C++" -> "Win32 Console Application", fill in the project "Name", select the project "Location" and click "OK" button.
3. Click "Next" button.

4. In "Application Settings" dialog box, select "Empty project" and click "Finish" button.

Now, we have a blank openCV application, but Visual Studio does not know how it combines openCV libraries with our openCV application. We have to add few variables/settings to the default values/settings of Visual Studio.
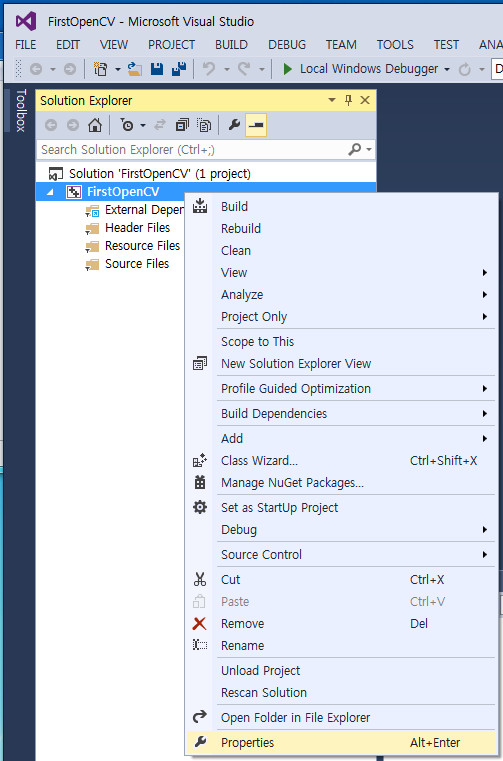
5. In "Solution Exploer" right-click on our project name, "FirstOpenCV", and select "Properties".
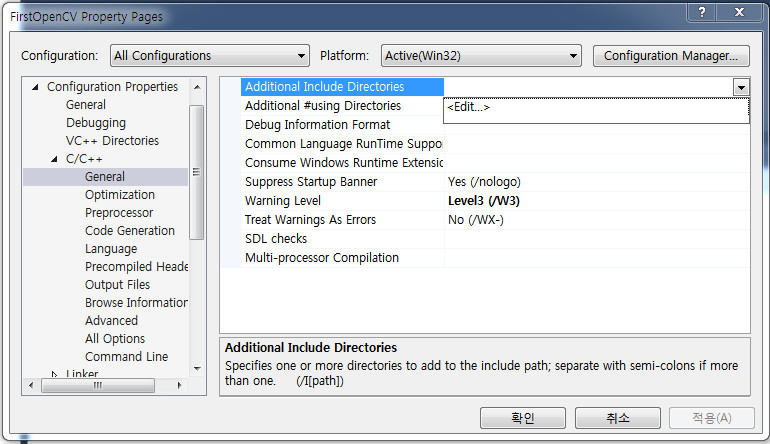
6. In "Property Pages" dialog box, select "All Configurations" at the "Configuration:" and select "C/C++" -> "General".
We have to let the Visual Studio include 'Opencv include files' by adding the 'OpenCV include' folder to the Visual Studio's "Additional Include Directories". In the right-hand pane, select "Additional Include Directories", click the small upside-down triangle and click <Edit>.
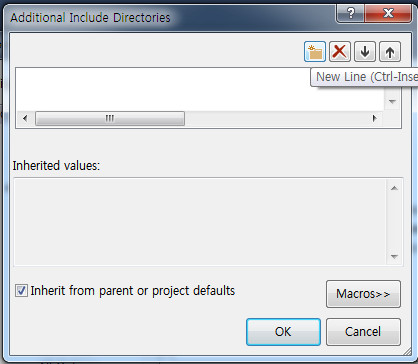
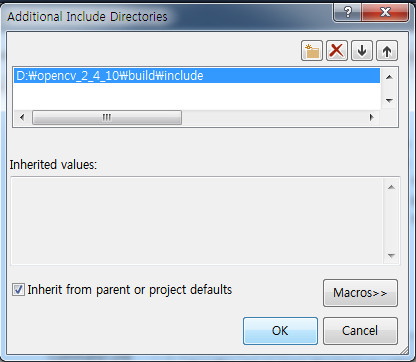
7. In the "Additional Include Directories" dialog box, click 'folder' icon at the upper right corner.
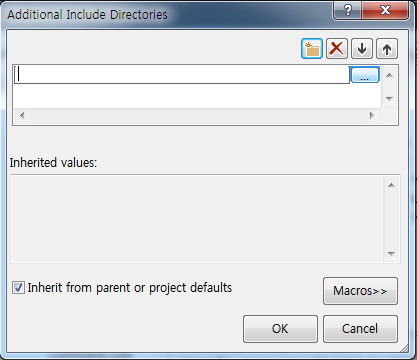
8. Click 'open folder' icon below the 'folder' icon.
9. Navigate to "D:\opencv_2_4_10\build\include" and click "Select Folder" button.
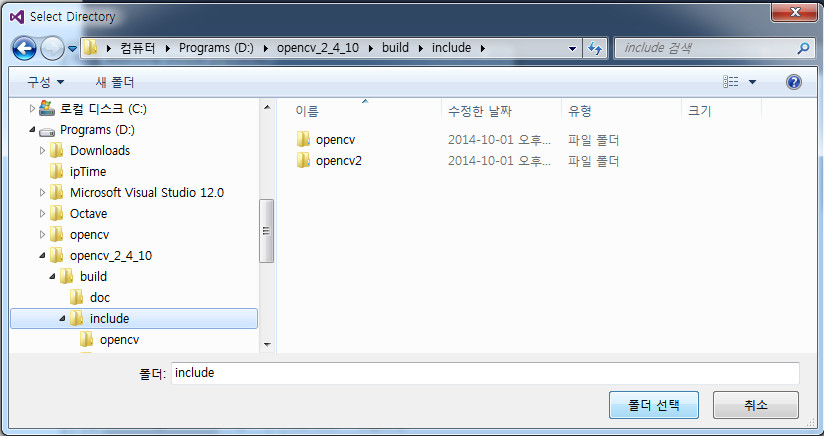
10. The whole path name will be copied in the edit control of "Additional Include Directories" dialog box. Click "OK" button.
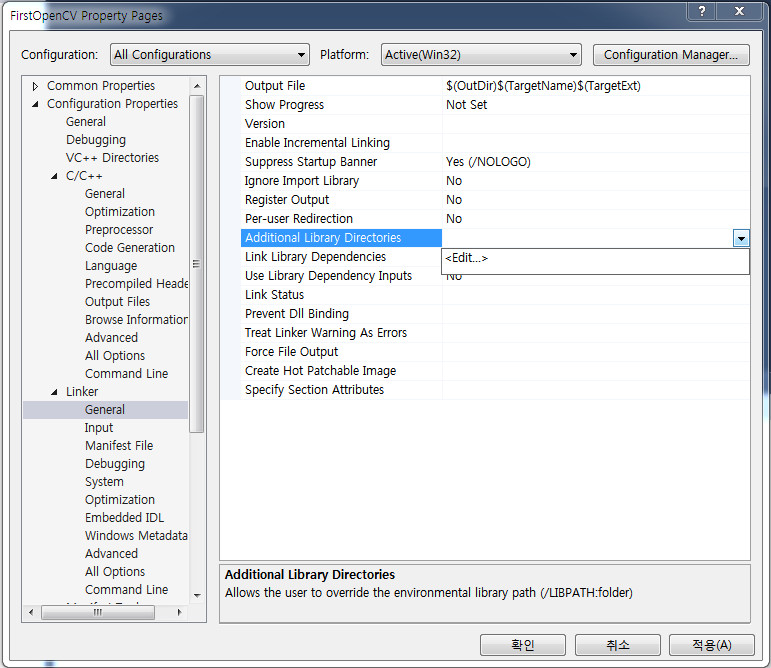
11. We have to let the Visual Studio know the location of 'Opencv libraries' folder.
Select "Linker" -> "General". In the right-hand pane, select "Additional Libraries Directories", click the small upside-down triangle and click <Edit>.
12. Use the same navigation way to reach 'OpenCV' library folder.
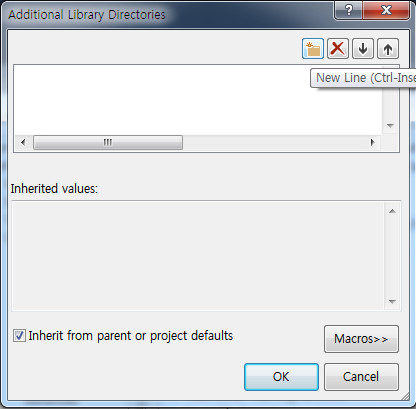
13. The OpenCV library folder is "D:\opencv_2_4_10\build\x86\vc11\lib".

14. Finally you could add OpenCV library folder.

The Visual Studio needs 'lib' files for the function calls in the DLL files when it builds up our application. For this purpose we have to add the 'lib' files list.
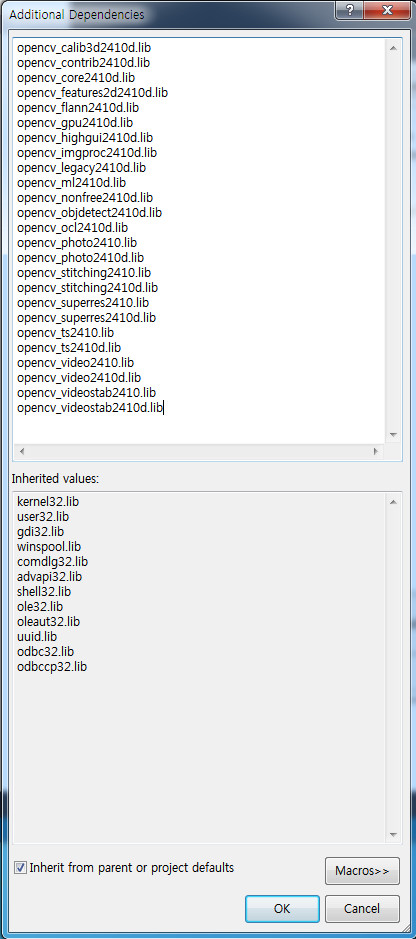
15. Select "Linker" -> "Input". In the right-hand pane, select "Additional Dependencies", click the small upside-down triangle and click <Edit>.
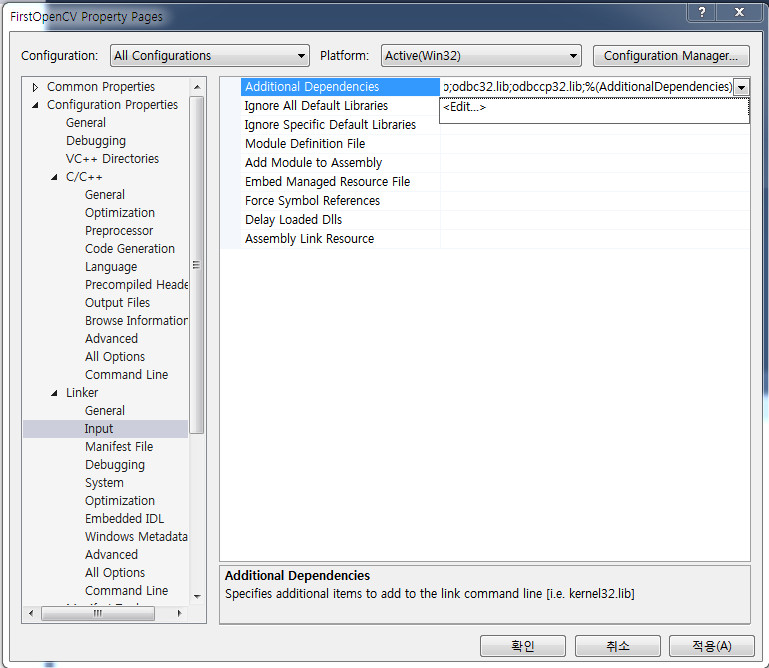
16. In the "Additional Dependencies" dialog box, type in the following 'lib' file names.
It's time to make a source program for our OpenCV application.
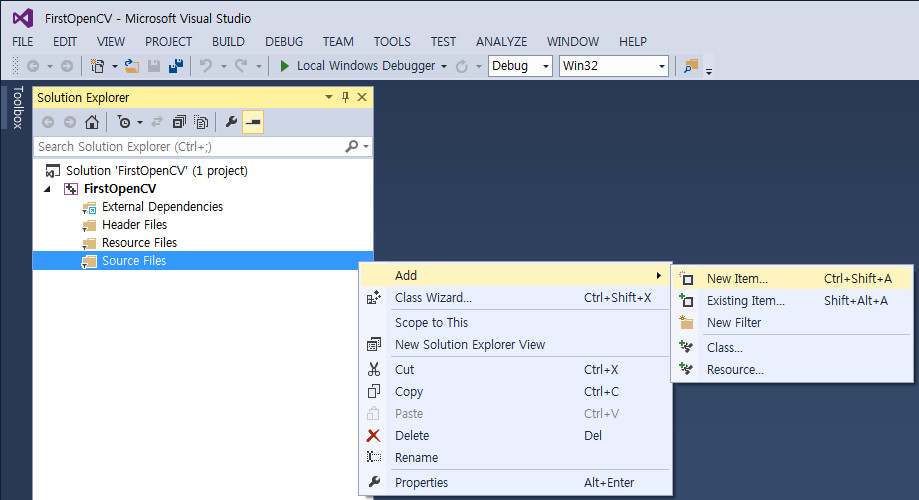
17. Right-click on "Source Files" -> select "Add" -> "New Item...".
18. Select "Visual C++" -> "C++ File (.cpp)", fill in the "Name:" edit control and click "Add" button.

19. Now, the source is attached to the project.
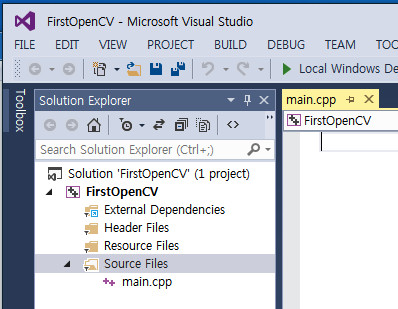
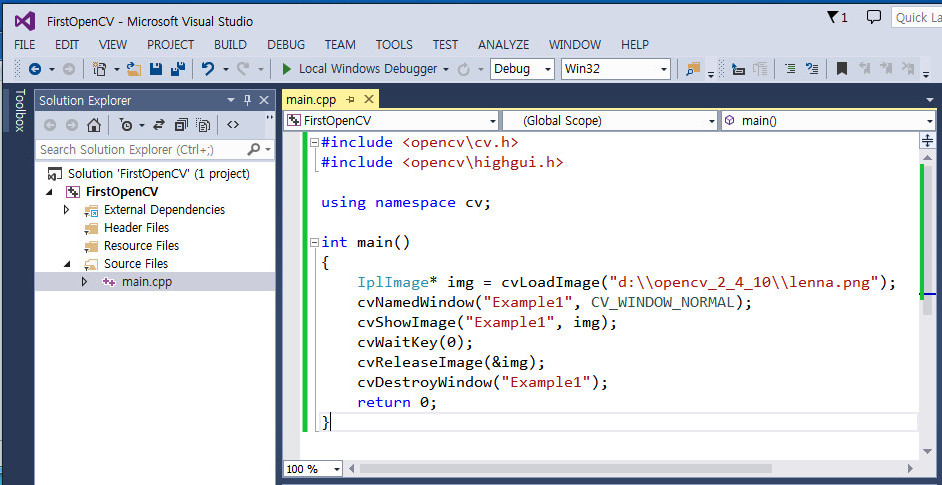
20. Complete the source program. Refer to the following program as an example.
	#include <opencv\cv.h>
	#include <opencv\highgui.h>

	using namespace cv;

	int main()
	{
		IplImage* img = cvLoadImage("d:\\opencv_2_4_10\\lenna.png");
		cvNamedWindow("Example1", CV_WINDOW_NORMAL);
		cvShowImage("Example1", img);
		cvWaitKey(0);
		cvReleaseImage(&img);
		cvDestroyWindow("Example1");
		return 0;
	}
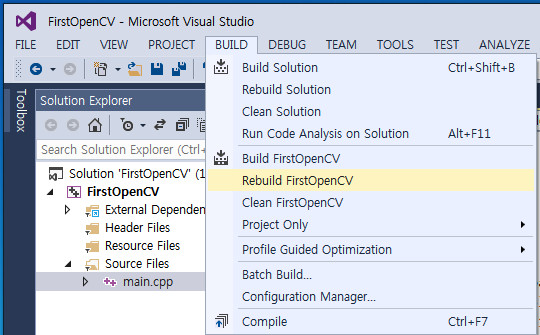
21. Build your application program by selecting "BUILD" -> "Rebuild ApplicationName".
22. You will get a success message if no errors in your source program.

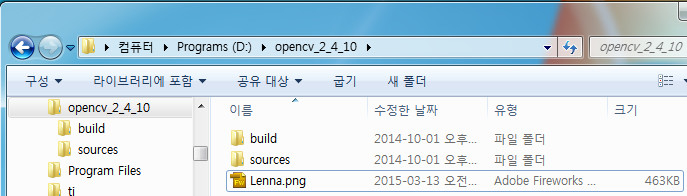
23. The current application needs an image file, 'lenna.png' in "D:\opencv_2_4_10" folder which will is loaded and displayed by our application. Prepare the image file in the folder.
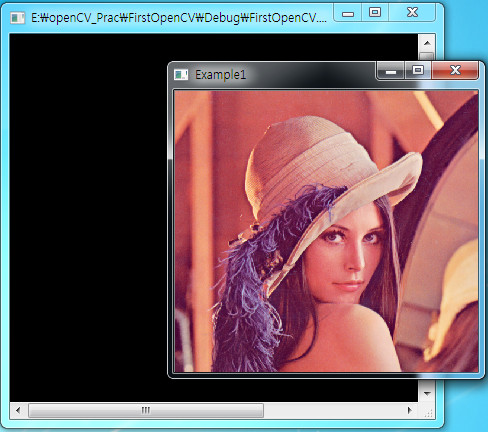
24. Select "DEBUG" -> "Start Debugging" or press "F5" key to run our application and you will see a new window which displays the image.
Congratulations. Refer to the official OpenCV home page for further study.